
Contents
Adding GA4 to your pipeline
Now we’ve created a pipeline, we need to add GA4 to it.
Where is this in the Pipeline Interface?
At this stage, you should have already set up your Pipeline.
The next step is adding GA4 to your pipeline.
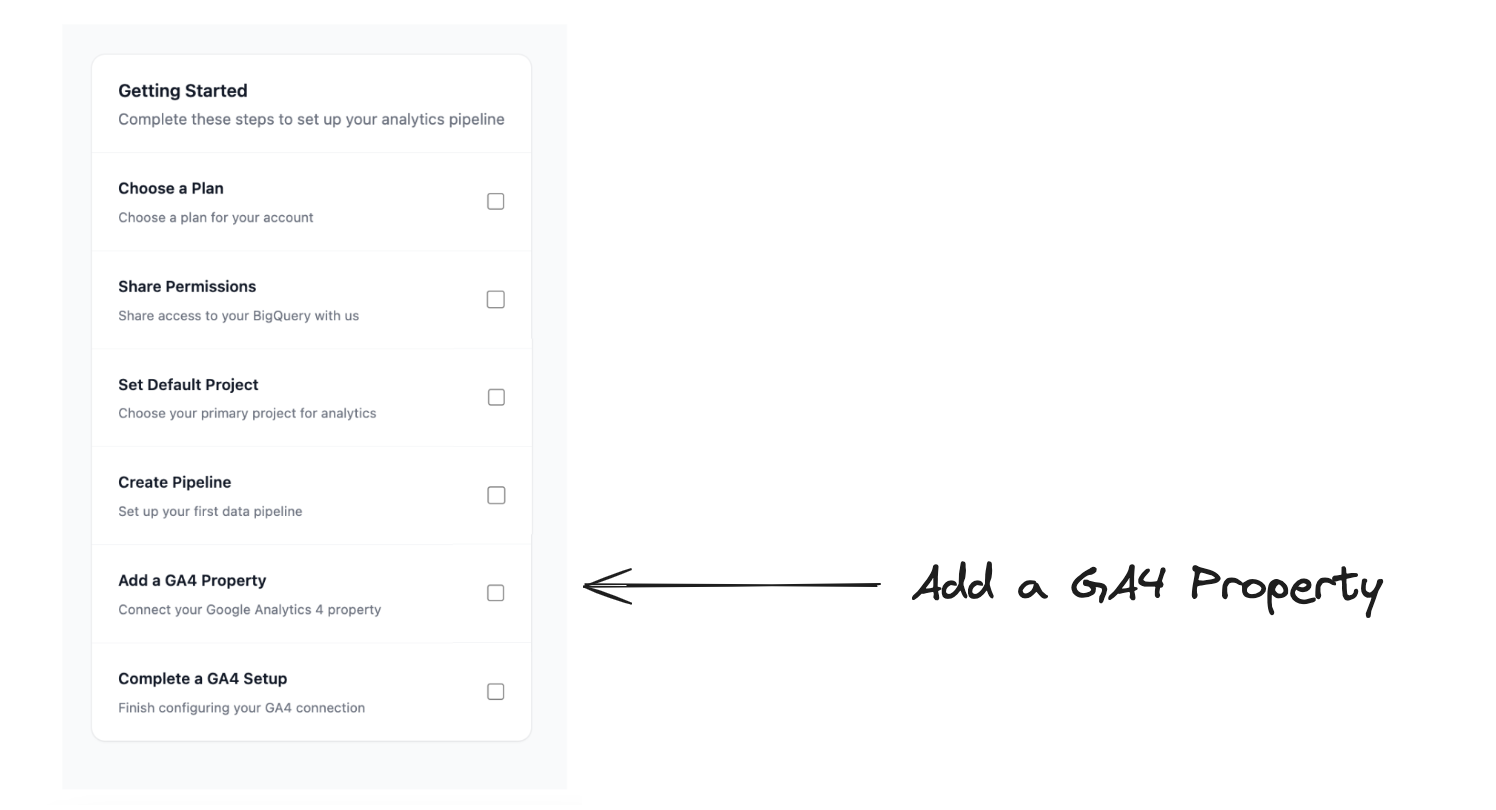
If you still have the checklist, then you can select this option
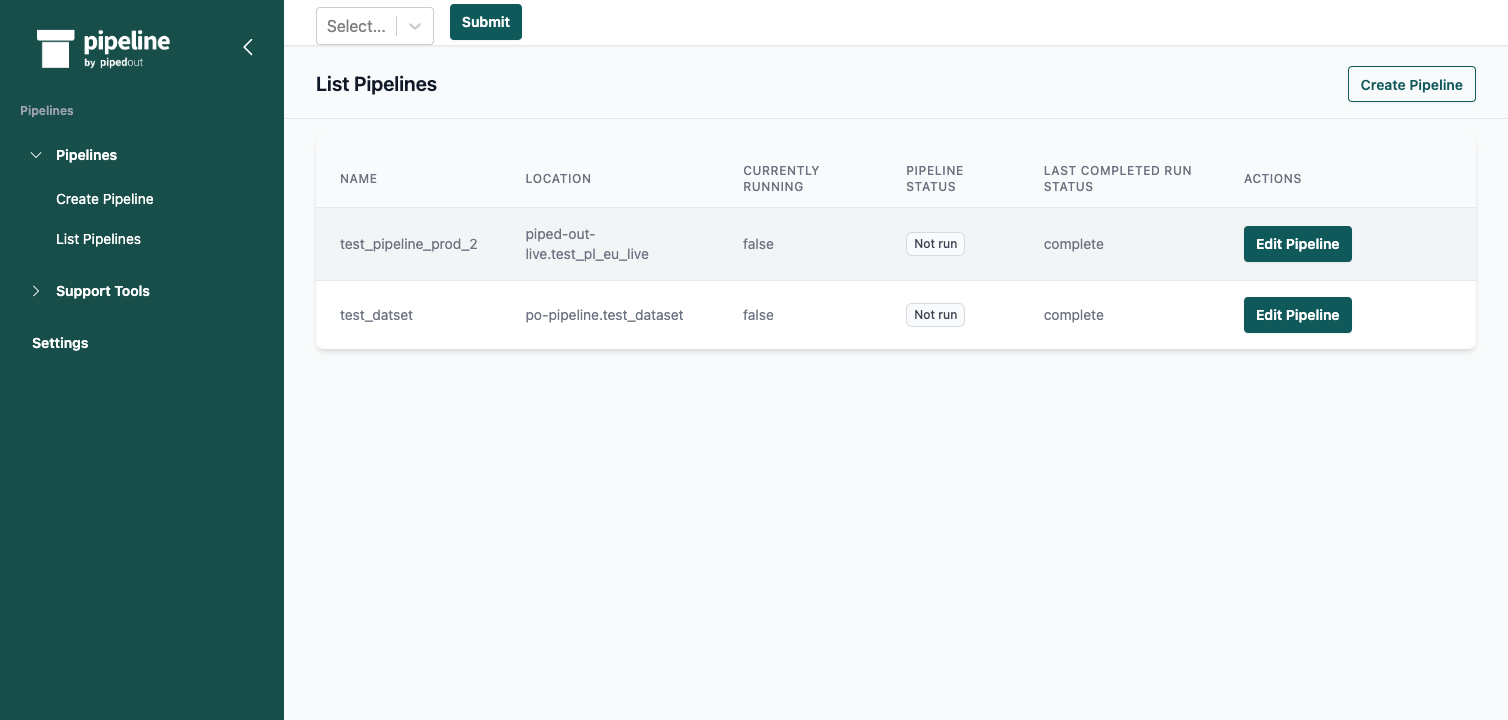
Alternatively, you need to go to the Side Navigation > List Pipelines > Select the pipeline you want.
Then we want to select add a new GA4 property.
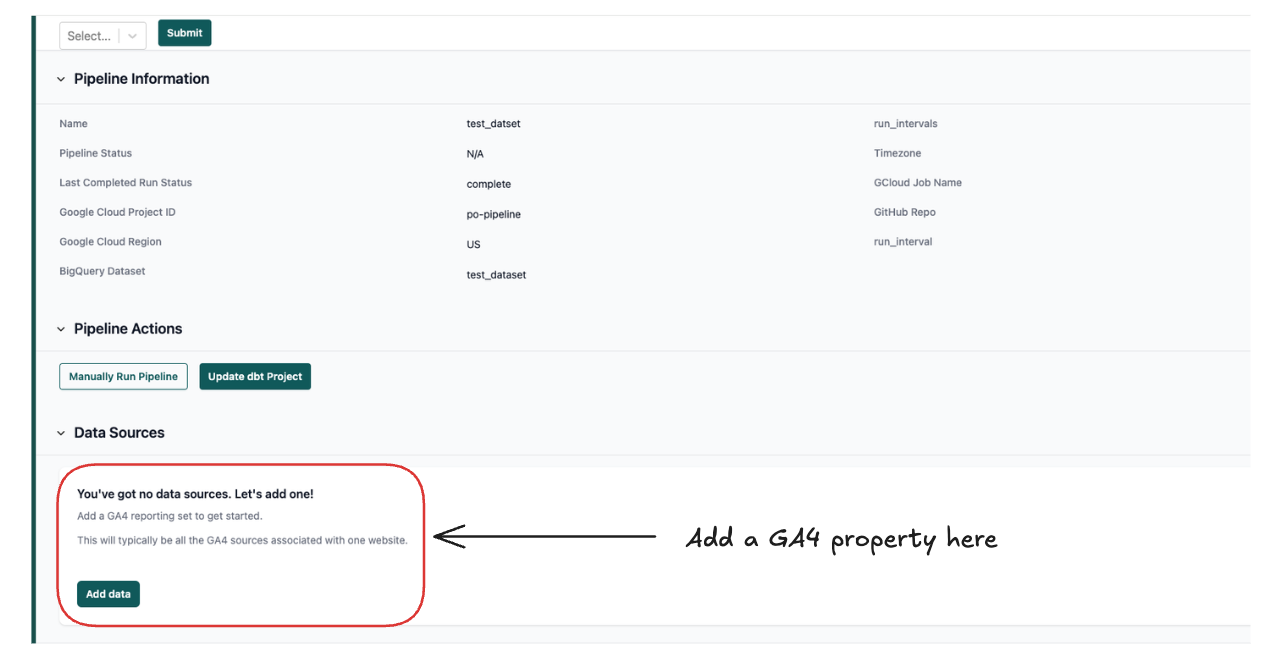
This is also where you can edit the pipeline.
How to run the basic GA4 set-up
1. Select the Google Cloud Project where GA4 is exporting to.
This will be wherever you’ve saved your raw GA4 data.

2. Select the Property ID (s)
Pipeline automatically scans for Property IDs which are exporting to BigQuery.
Pick the GA4 property you want to add to the pipeline.
You can pick mulitple properties here: If you do we’ll roll them all up together into one big table. This won’t magically cause users to be tracked across multiple domains, it just means we’re putting all of these properties data in the same place to make for easier

3. Select the timezone you GA4 data is stored in.
Select the timezone of the GA4 property you’ve selected.

4. When setting up your pipeline you might want to only run a small period at first
The final option lets you run the pipeline for a small period of time rather than for all time.
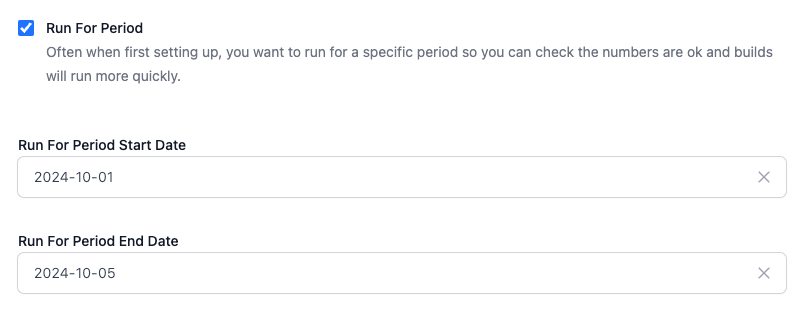
It will make the pipeline run notably faster so if you’re experimenting with conversions, session segments etc. it is often a good idea.
When you are first setting up your Pipeline, we’d recommend setting this to a week.
It’s the best way to iterate and make sure all your conversions, traffic channels are working as expected before running on all you GA4 data.
Then when you're happy, come back turn this setting off and re-run the pipeline to get full data.
5. You’re all done. Hit save!
Please remember to hit save.
